
UFO: UnFinished Object Center-Pull Ball Winder Add-on

Introducing the UFO: UnFinished Object center-pull ball winder, the innovative solution for avid crafters and yarn enthusiasts who want to seamlessly manage their yarn while working on in-progress knitting or crocheting projects. This ingeniously designed accessory enhances your crafting experience by allowing you to create neat and tangle-free center-pull balls of yarn right from the heart of your ongoing project.
Our UFO effortlessly slides on the ball winder insert. NOTE: While this can be used with the original ball winder insert, it is recommended for use with the Ball Winder Insert. With the Ball Winder Insert, you can slide your needles/hook into the center, add the UFO, and start to wind. This attachment enables you to wind a center-pull ball while your project is still on your needles or hook, allowing you to rewind a collapsed yarn cake easily.
Instructional videos are available in pictures, or check our YouTube channel!
To Use:
- Prepare the project by ensuring that in-progress stitches are safe. If using circular knitting needles, cinch the project towards the center of the cord. If using DPNs ensure all stitches are in the middle of the DPNS. Roll/fold in progress knitting/crochet around needles/hook into a roll/ball shape.
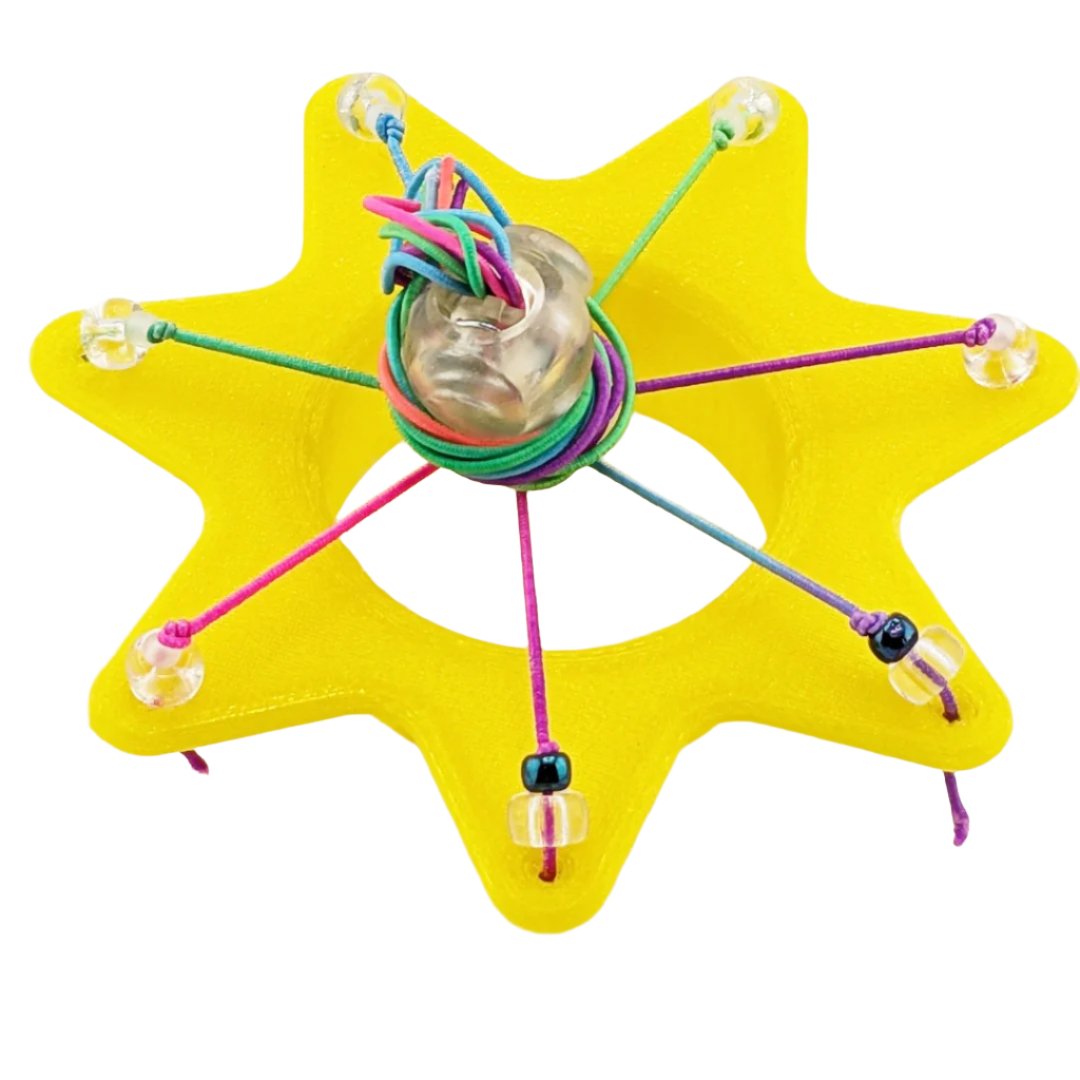
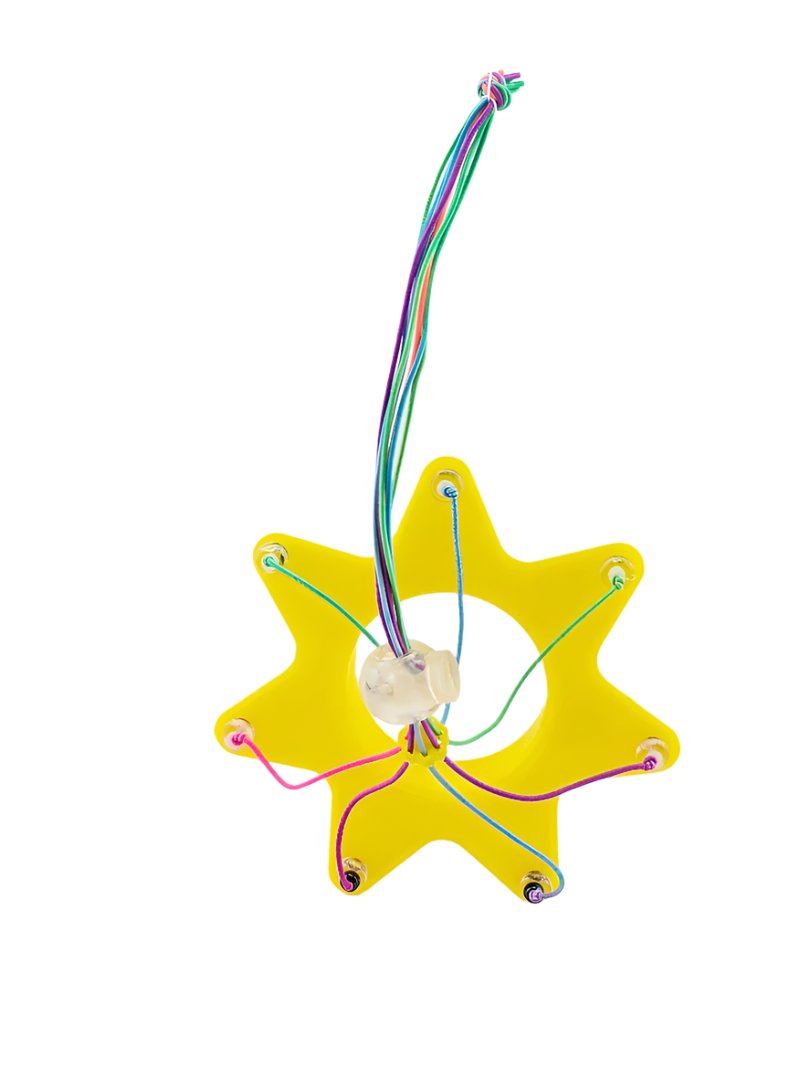
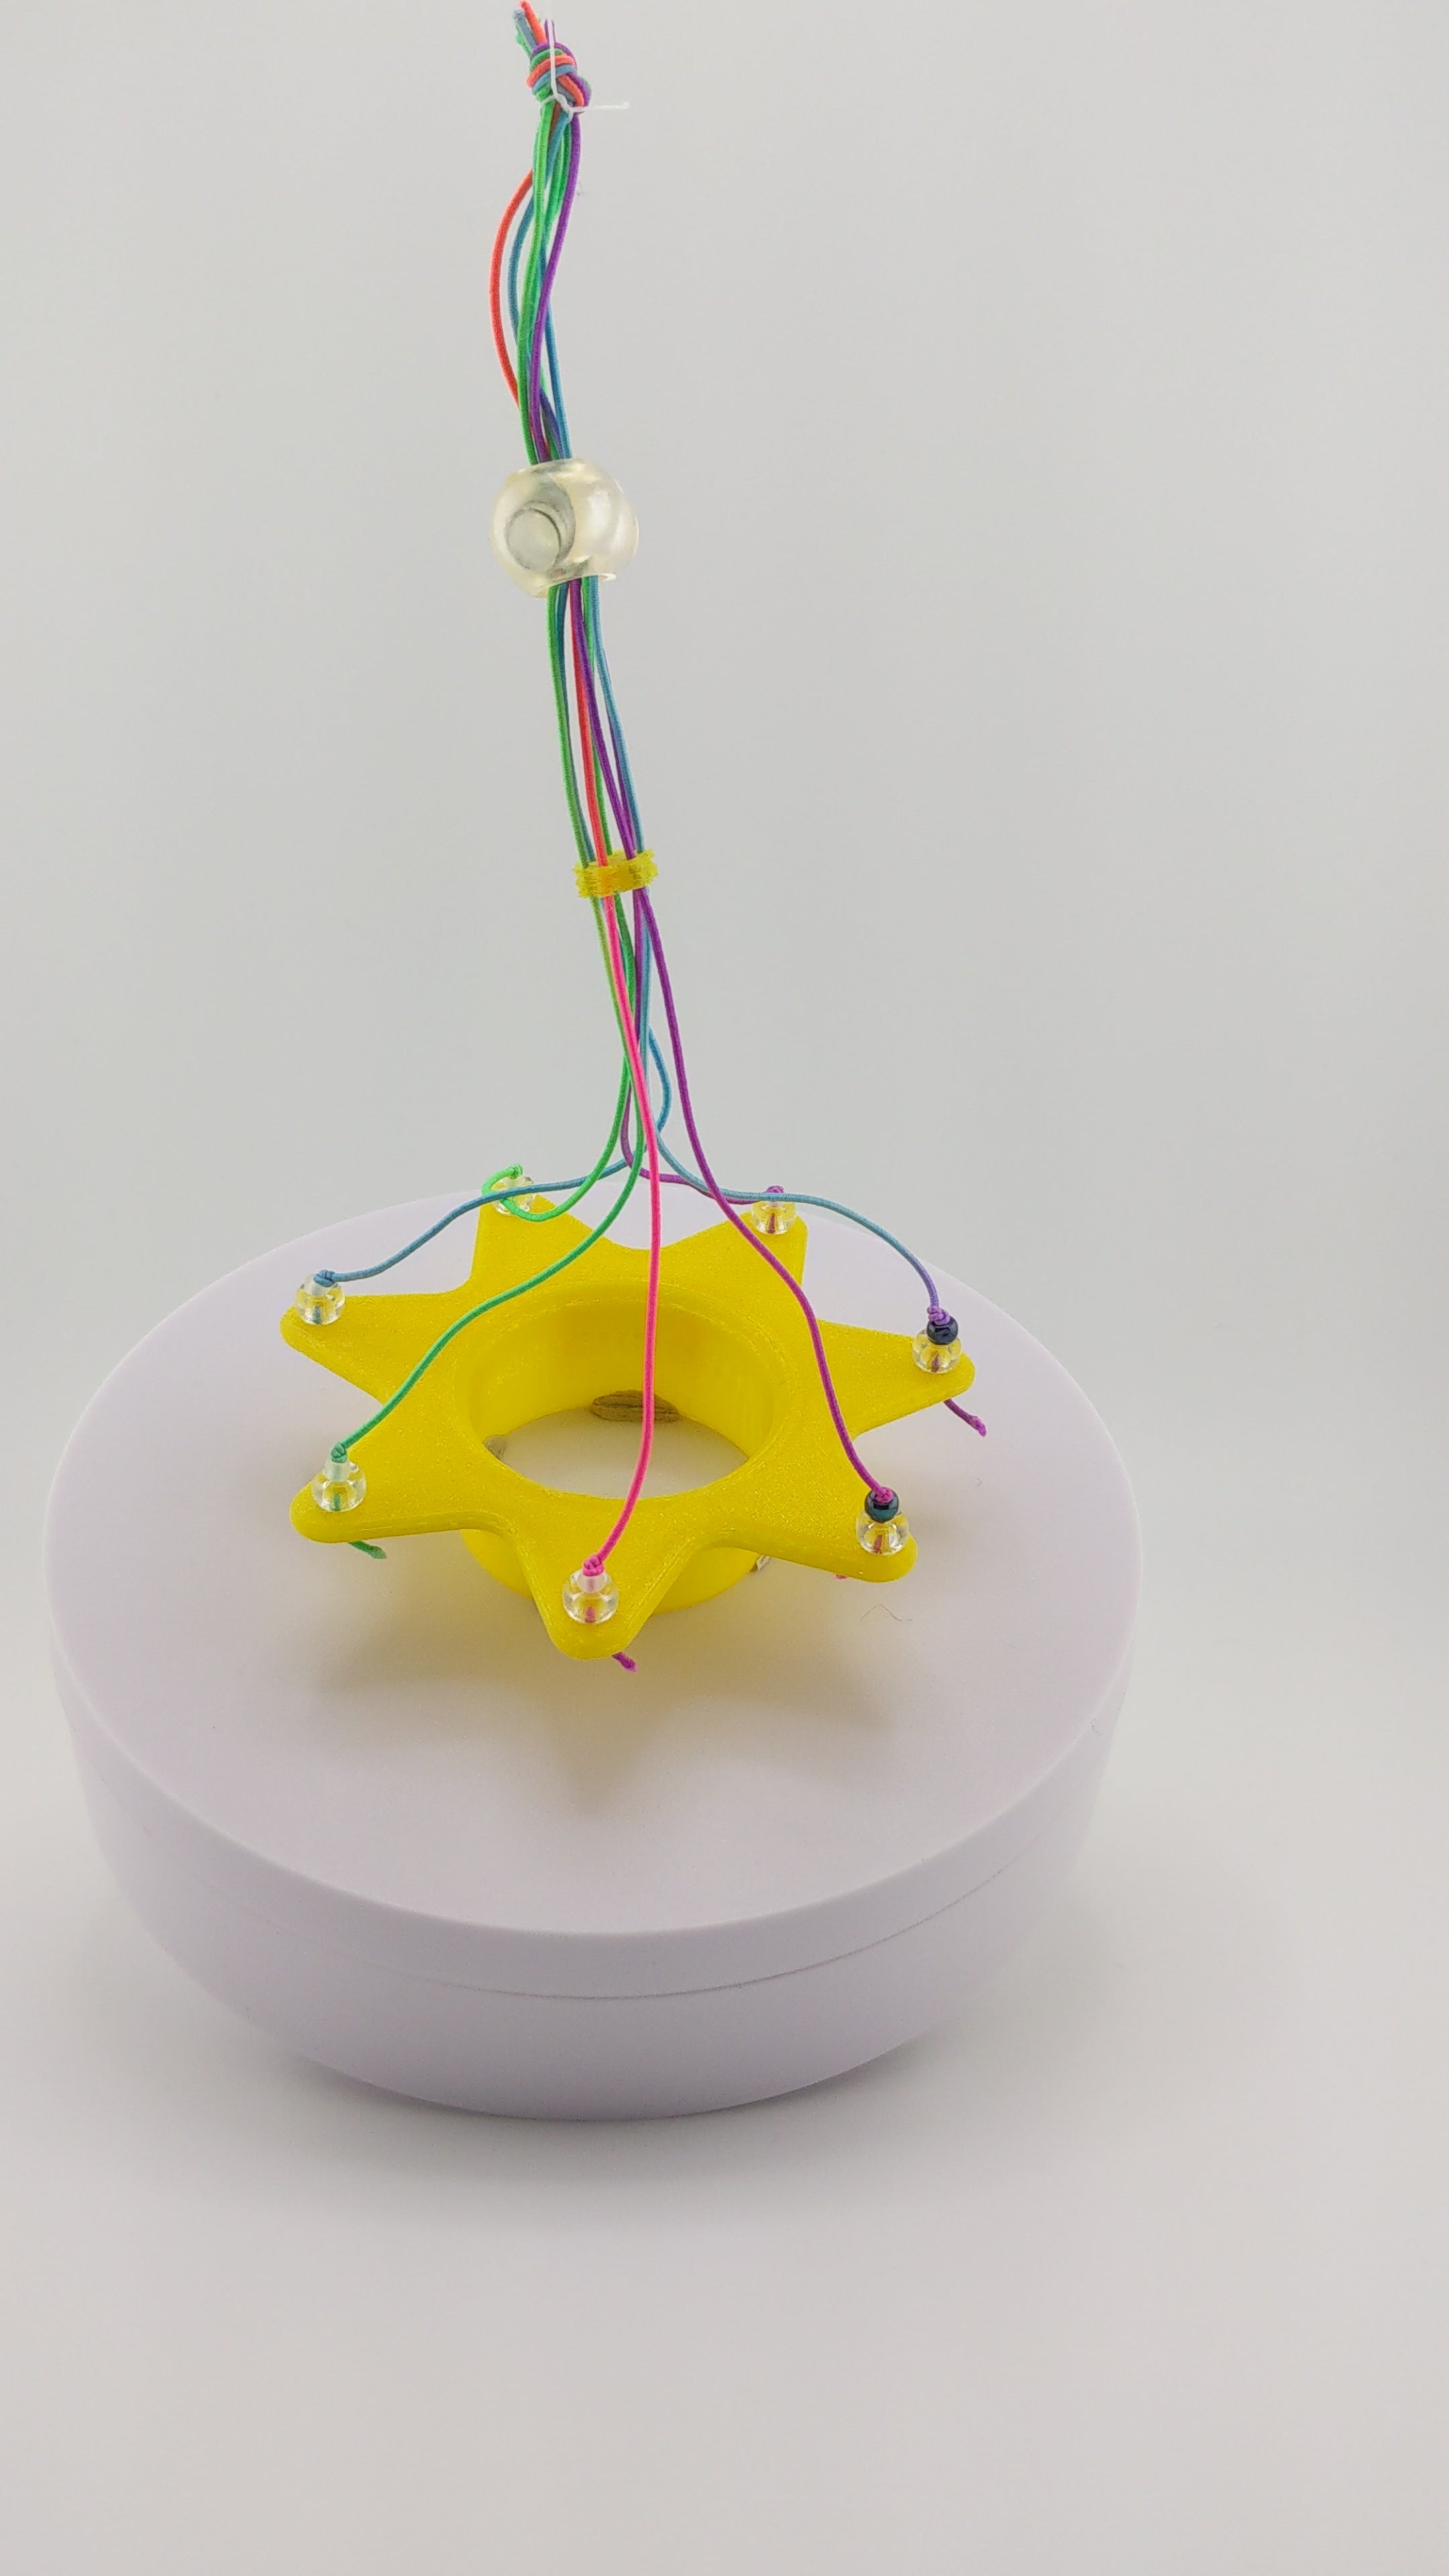
- Place the UFO on a Heart Forge Solutions Ball Winder insert. (Note: UFO will work with the original ball winder insert as well.) Ensure that all elastic bands are free of the winder/UFO plastic.
- Look for the two elastic cords with dark-shiny, and clear beads. These are your entry/exit cords. Place the rolled-up project into elastic cords through the entry/exit cords. You may want to put the needles/crochet hook into the open center, if using a HFS Ball Winder Insert. Pull the white comb and cord-lock down as tightly as possible. Ensure that working yarn is coming out of the project.
- Slowly move the winder handle to see if the project clears the winder's metal arm. If not, move the project around inside the elastic cage until it fully clears the winder arm.
- Take the working yarn, and slide through the pigtail/coil on the metal winder arm.
- Using slow, careful movements, begin to wind the yarn. Ensure the project is firmly placed into the UFO elastic cage and not swinging loosely. Wind yarn until completely balled up. Stop winding.
- Slide the UFO and newly wound ball off the Ball Winder insert together, and place on the table
- Carefully remove the project from the entry/exit elastics. If using DPNs, ensure that stitches are still correctly placed on needles. Correct if needed.
You now have a manageable center-pull ball attached to your project! Commence mandatory celebrations.